This post will show you how to integrate Disqus comments to your Hexo blog.
1) The easy way. When your theme already supports Disqus comments.
If you are lucky, your theme already support Disqus comments. This is the case for the default theme and Light, the theme I started with.
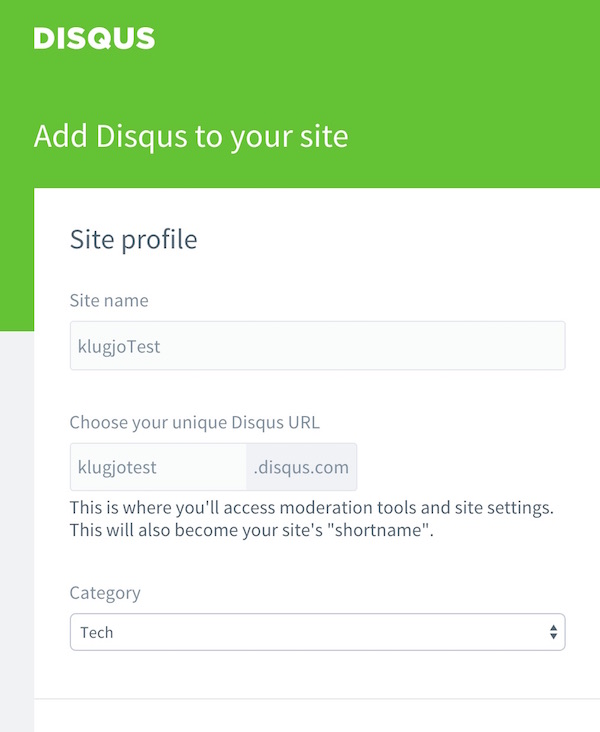
Grab your site’s Disqus unique identifier: for example here klugjoTest:

Then go to your site’s main _config.yml and add a disqus_shortname property with your Disqus ID.
|
Your site will automatically display Disqus comments on each post !
(Note: if want to test the modification on your local machine first, you will have to change the url property in your _config.yml to http://localhost:4000 or whichever port you are using. Don’t forget to change it back before deployment)
2) The not so difficult way. When you have to implement the comments section yourself.
Log in to your Disqus account and go to your site settings, then check the installation section.
You will find a bunch of code that needs to be pasted in your site to display the comments.
This code consists of:
- A
<div id="disqus_thread"></div>: place it where you want your comments to be displayed. - A
<script>tag that should be place before your</body>closing tag.
In the <script tag, there are two variables that need to be set dynamically:
url: set this to your blog post URL accessible through<%= config.disqus_shortname %>identifier: set this to your unique Disqus ID accessible through<%= page.permalink %>
More info in the Disqus official documentation
Check out an implementation example in the landscape theme.
Happy blogging !
